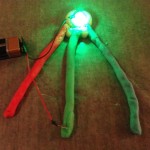
A Math/Science activity night is coming up at my kids’ elementary school, requiring a 30 minute class project. I decided to check out squishy circuits. They consist of two kinds of play-dough, one conductive and the other resistive, which can be integrated with other electrical components to make interactive (and squishable) circuits. The instructions for making the dough and some different ideas for types of circuits can be found at the University of St. Thomas’s website.
I made three batches of conductive dough in red, green and blue, and an equal amount of the resistive dough in white. Most of the squishy circuit examples online showed ways to hook up several LEDs in parallel and series. I thought I’d try to demonstrate how the resistance of dough increases along its length by mixing colors with an RGB (Red, Green, Blue) LED.
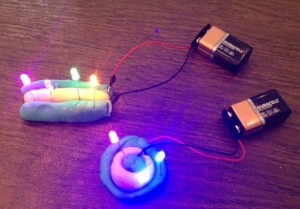
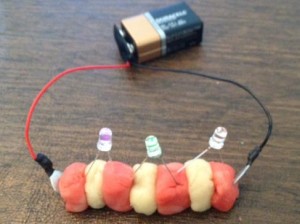
The equipment needed for this experiment is:
- Conductive dough (recipe here)
- Resistive dough (recipe here)
- A 9 Volt Battery (or almost any voltage battery pack) with header and leads (I soldered ring terminals onto the leads to create greater area for contact with the dough).
- One RGB LED (I used common cathode RGB LEDs – you can order them cheaply on eBay)
First, roll out the dough into the configuration shown below. There is a small circle of conductive dough surrounded by a ribbon of insulating dough. Then add three “arms” of conductive dough. They don’t have to be different colors, but it makes for a more appealing demonstration if they are.
Because the “arms” are close together and we don’t want shorts between them, place a small amount of insulating dough near where they meet the circle to keep them separated.
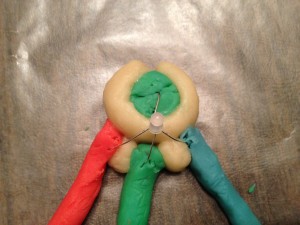
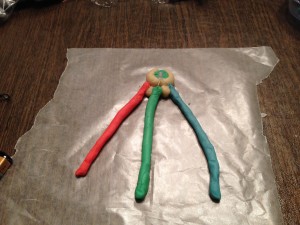
Next add the RGB LED. These LEDs have one anode each corresponding to red, green and blue, and a common cathode. The cathode is the longest leg. Take the RGB LED, and bend the legs so that the cathode (longest lead) can reach the small circle of conductive dough, while the other three leads can each reach one of the conductive “arms”. Place the led into the dough so that each leg makes good contact. Then connect the negative terminal of the battery to the conductive dough circle.
Now, if the connections are good, by placing the positive battery terminal on one of the colored dough “legs”, you can see the LED light up in different colors (see pictures below).
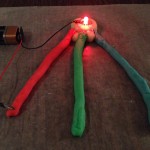

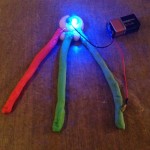
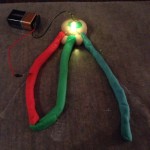
And by connecting the legs of the color mixing circuit together you can get the colors to mix. Placing the positive lead of the battery in different locations along the legs when the legs are connected together results in different degrees of mixing because of the different lengths of dough that the electricity has to travel through to reach the different colored LED leads.
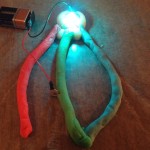
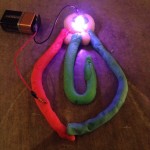
Below is a video demonstration of making and using the color mixing circuit. I hope you enjoy mixing light with squishy circuits!
