Configuring the Weather Display
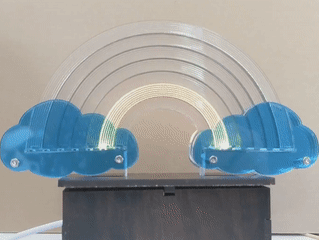
Your rainbow display defaults to an evolving rainbow spectrum, but, if configured, can display colors and patterns to reflect weather conditions. It must be connected to WiFi to retrieve weather information from the OpenWeatherMap site. Additionally, you will need to create a free account with the OpenWeatherMap organization and obtain an application (API) key from them. This numerical key is free, and allows the rainbow to retrieve weather conditions for whatever region you specify. Directions for obtaining this application key can be found here: https://docs.thingpulse.com/how-tos/openweathermap-key/
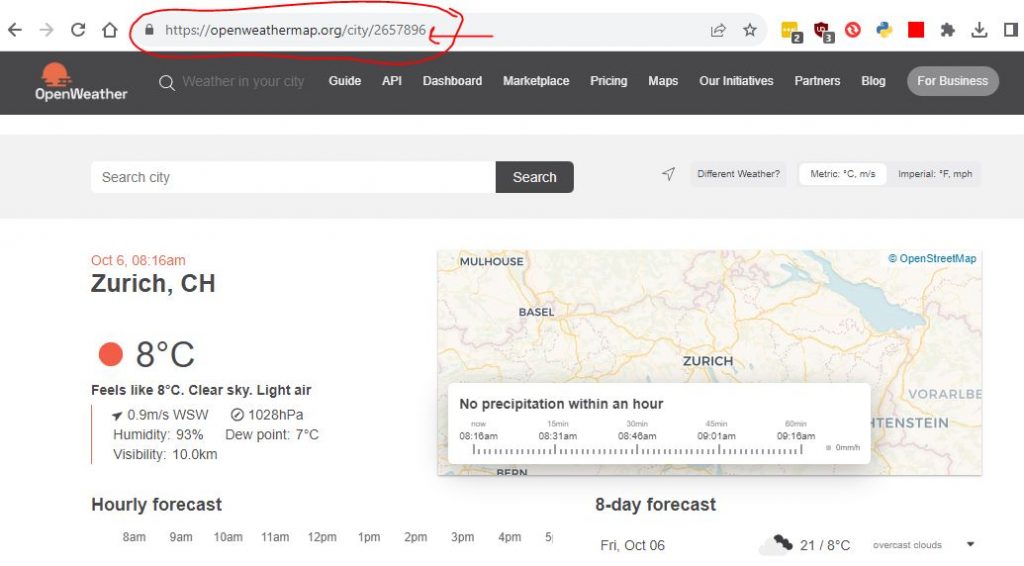
To set the rainbow’s location, you will have to find its location ID. Go to https://openweathermap.org/find?q= and search for a place. Go through the result set and select the entry closest to the desired location. The listing will have a URL like https://openweathermap.org/city/2657896. The number at the end of the URL is the location ID you’ll need.
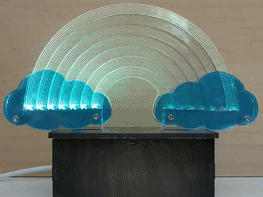
After you obtain the key, you will need to connect the rainbow to WiFi. To do so, you will need to start your rainbow in “Access Point Mode.” If the rainbow has not yet been been connected to a network, it will automatically start in Access Point Mode. Once you specify the network information, the rainbow will remember the network and boot straight to display mode upon restarting. If you want to change the network or locale, you can make it boot in Access Point Mode by powering up the rainbow while depressing the black button attached to the rainbow’s control board. Simply unplug the USB cable from power, and then, while holding down the button, plug the cable back into a 5V power source. Once the rainbow starts to light up, you may let go of the button. You will be able to see that the rainbow is in Access Point Mode if it is flashing all of its arcs on and off in a single color (usually red or purple) as shown below. With no other input, Access Point Mode will time out after about a minute and return to displaying a rainbow.

In Access Point Mode, the rainbow will put out a WiFi signal named “RainbowConnection.” With a WiFi-enabled device, connect to the “RainbowConnection” signal, and, if you are on a mobile device, WiFi Management web page, shown below, will come up. If you are not taken directly to the page, open a web browser, and in the address bar, type the URL “192.168.4.1” to get to the WiFi Management page.

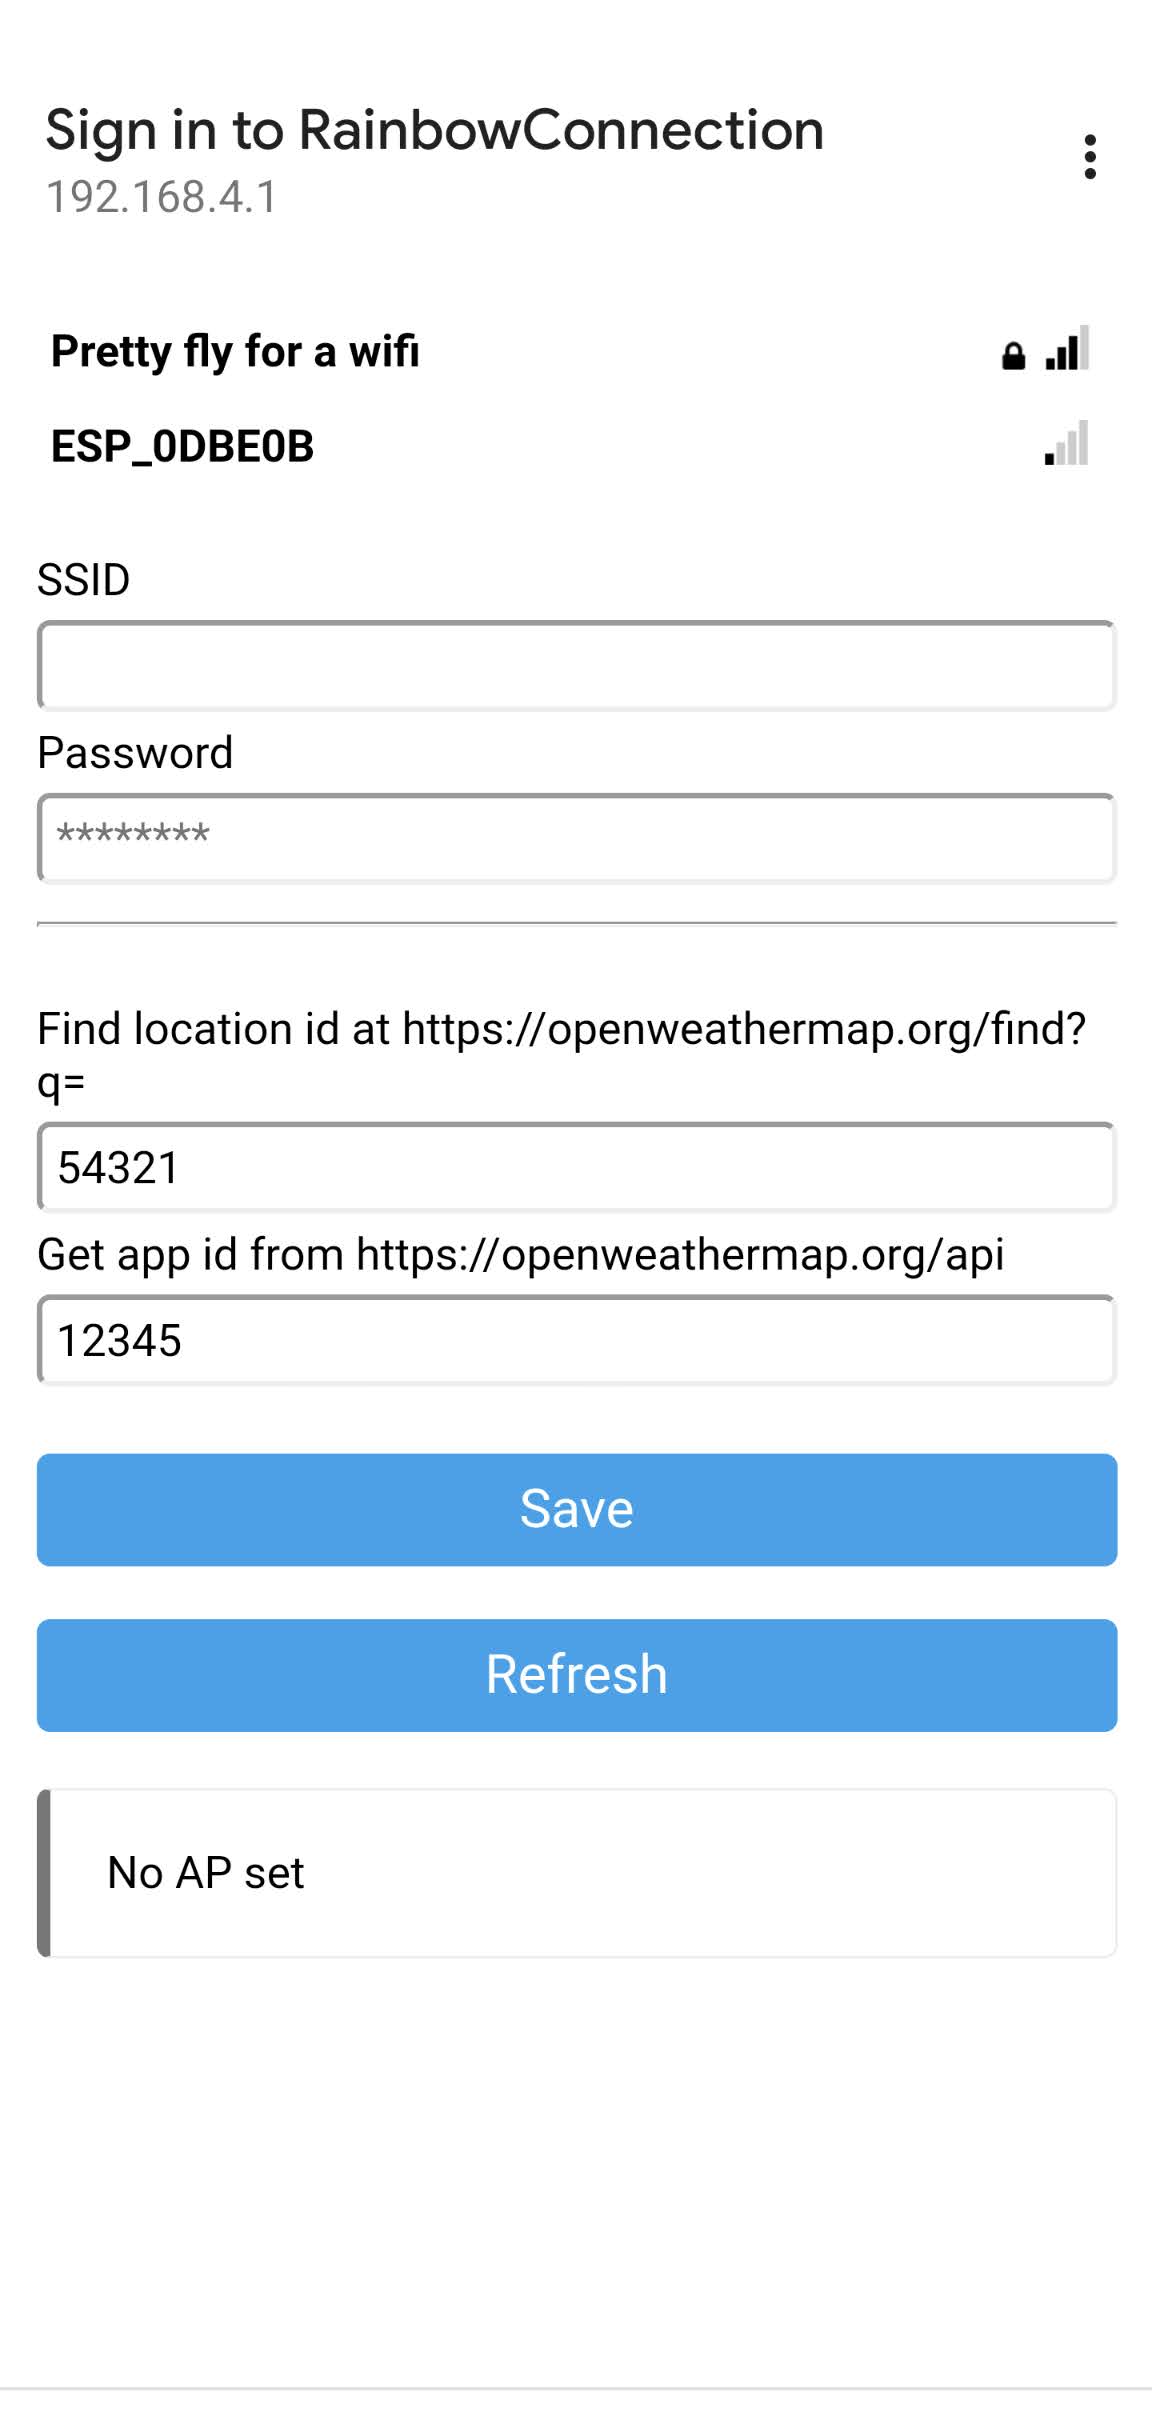
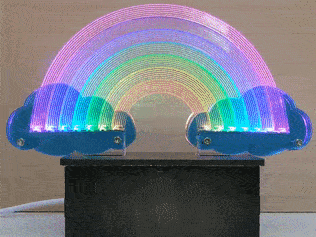
From the page, select “Configure WiFi”. You will then go to a configuration page. A list of available WiFi signals appear at the top. Select one (or type it in the SSID box) and type the corresponding password in the Password box. Enter the OpenWeatherMap location ID you obtained earlier in the third box and the API key in the fourth/last box. The API key is long and complicated, so it’s easiest to enter it by cutting and pasting than by typing it directly. Once you press the blue Save button on the screen, the rainbow controller will reboot and connect to the specified WiFi automatically when it restarts. If it has connected correctly, you will see the rainbow spectrum illuminated in the LEDs. If not, you will see the rainbow arcs lighting up in sequence while the controller attempts to connect to the specified wireless network. If the connection to the specified network is unsuccessful, the rainbow will eventually go into rainbow spectrum mode.
Once connected to WiFi, after about 10 seconds, the rainbow will attempt to communicate with OpenWeatherMap to retrieve conditions. The rainbow pattern may appear to stop moving during the first data connection, which can be slow. It should not remain motionless for more than a few and will resume moving once data retrieval is complete.
To Re-Enter Access Point Mode
If the controller inside the rainbow base has a push button attached, disconnect the power from your rainbow, press the button, then plug the rainbow back in while depressing the button. That should put the rainbow into Access Point mode which will allow you to change the WiFi information or the OpenWeatherMap parameters.
If there is no additional push button, but your board is a Lolin D32, you can trigger access point mode by double-clicking the reset button. The timing can be a bit tricky. Double clicking too quickly won’t work. It takes a time delay of about 0.5 to 1 second between resets to trigger the “double-click.”
Weather Animations
When connected to WiFi with the proper Location ID and API value, the Rainbow displays animations every 30 seconds reflecting current weather conditions. It will always display the temperature by fading to a solid color for a few moments then fading back to a rainbow. The color displayed reflects the temperature according to the color key shown below.

Additionally, certain weather conditions will trigger animations immediately following the temperature display. If there is rain the following pattern (in the color of the current temperature) will appear:

Similarly for snow:

And brisk wind: