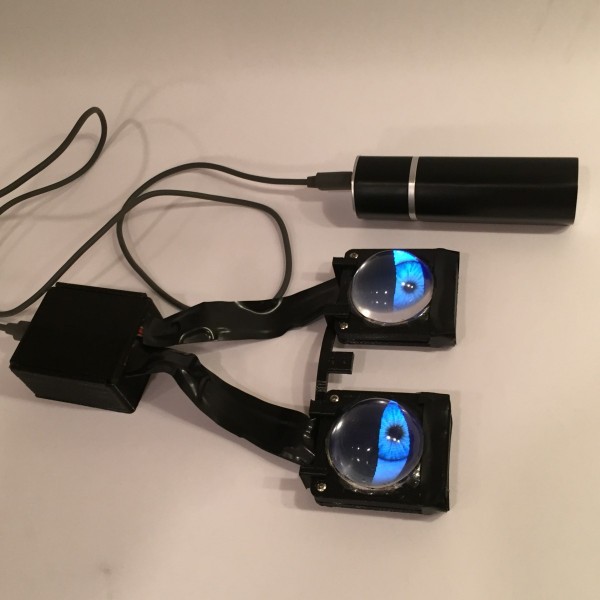
My middle son and I have a tradition of incorporating electronics projects into our Halloween costumes. This year we saw the tutorial for Uncanny Eyes on Adafruit, written by Phillip Burgess, and instantly decided that we had to make them. The project uses two TFT or OLED screens to create realistic moving and blinking eyes controlled by a Teensy 3.1. This post documents our build process and how we’ve each decided to use the eyes differently in our Halloween costumes. It will make more sense if you’ve read the tutorial on Adafruit, however, you should still be able to follow along even if you haven’t.
Screens and Housing:
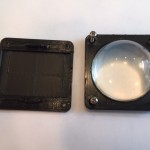
We chose TFT screens for our project since they were less than half the price of the OLED screens, and we needed four of them – two apiece. We ordered the TFT screens and Teensy 3.1 boards from Adafruit, and also ordered the suggested glass hemispheres from TAP plastics to use as eyeballs. We received the eyeballs first, so we started by 3D printing the cases to hold the screens. The front part of the TFT screen case has a hole for the glass hemisphere. The hole is supposed to just fit its widest circumference. In our first print, the hole was just a little too small, making the hemisphere protrude too far into the case interior to allow enough room for the TFT screen. Fortunately Burgess included the design files for the case and instructions on how to edit them with Autodesk 123D. Following instructions, we enlarged the opening by 0.4 mm, and found that the next print had an almost perfect fit. Burgess apparently didn’t glue his case until he had the electronics in place, however, we were impatient and glued in the hemispheres right away, using JB Weld Clear Weld Epoxy and a toothpick to spread the epoxy around the join, The epoxy set in less than 10 minutes and by the next morning it was a rock solid bond. We made a bit of a mess with the glue, but it dried clear and shouldn’t show in the final costumes. In the end, the cases didn’t close quite perfectly so it might have been better to wait to have the electronics in place before gluing the eyeballs.
Electronics and Wiring:
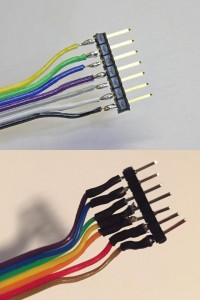
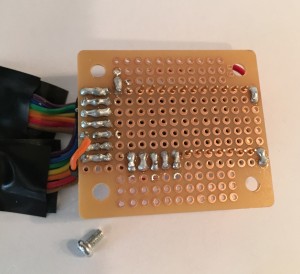
The next step was to wire the electronics. Burgess recommends using 7-wire ribbon cable to join the TFT with the Teensy. We had some 10-wire ribbon cable, and peeled away 3 of the wires. Then, following Burgess’ suggestion, we soldered one end onto 7 continuous header pins so that initial connections to the Teensy could be made on a breadboard. Joining the cable to the pins was quite a challenge for our soldering skills. We had several failed attempts (see image at right), but eventually came up with enough good cables to use.
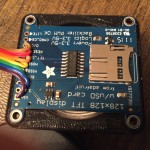
The through-hole soldering on the TFT boards proved significantly easier than with the header pin soldering, however since the TFTs fit very snugly in their cases, the cables have to be arranged quite carefully. Once the TFT connections were completed, we enclosed the TFTs in their cases. The cases fit reasonably, but didn’t close perfectly, probably because the glass eyeballs had been glued slightly too far down. When closed as tightly as possible, there is a gap of about 1-2 mm between both halves of the case. This isn’t a big problem, as we can cover the gap with electrical tape. Additionally, we found that the holes for the nuts in the corner of the case had printed too small for the 2-56 nuts we were supposed to use. We ended up turning the screws the other way around, so that the screw head fits into the hole for the nuts and the nuts rest atop the opposite side of the case. This worked, though it doesn’t look as polished as it might have with the nuts fitting flush in the case.
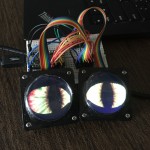
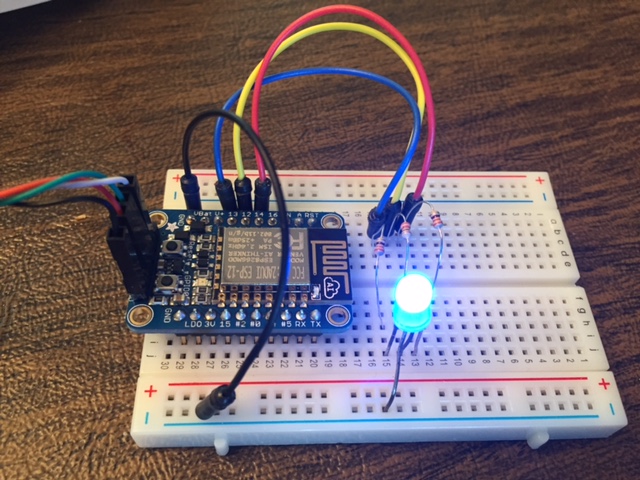
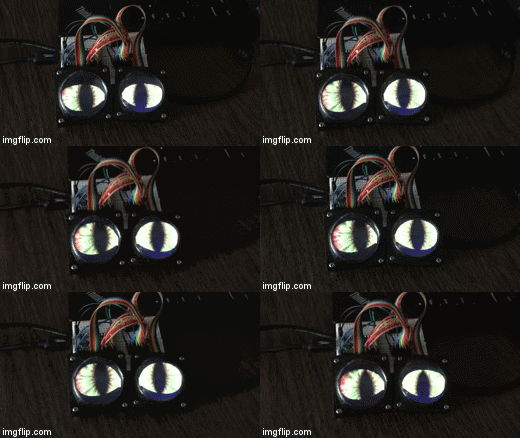
We plugged the ribbon cables into an empty row in the breadboard and ran jumper cables from each connection to the corresponding Teensy pin. Burgess’ design and code gives the option to attach buttons, a photo-resistor and a joystick to control the eyes’ movement and pupil dilation. We didn’t connect any control elements, as we plan to run in autonomous mode in our Halloween costume. Once wired up, we were then ready to download the code to the Teensy. To use the Arduino IDE with the Teensy requires the Teensyduino program. I had to upgrade my Arduino IDE installation to the most recent version (1.6.5) before Teensyduino would install correctly. Once installed, we connected the Teensy to the computer and downloaded the Uncanny Eyes Arduino sketch. To our amazement, the eyes appeared on the first try. We had fun changing the parameters of the program to see the different kinds of eyes that could be created. It simply requires uncommenting a single line of code at the beginning of the sketch to switch between human, dragon, goat and sclera-free eyes. I found myself staring at the eyes for an incredibly long time – the random lifelike movements are quite mesmerizing!
Making the Project Permanent:
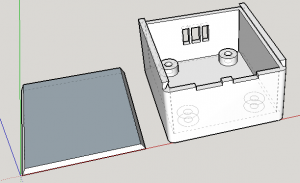
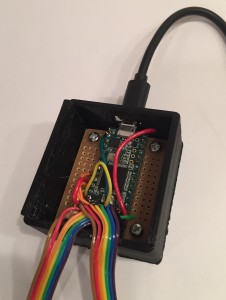
Our next step was to move the project from the breadboard to a more robust housing. We could have made the electronics quite small by wiring the ribbon cables directly to the Teensy, however neither of our costumes required that level of compactness, so we opted for ease of construction instead. We connected the Teensy and the ribbon cable headers directly to a small perfboard, and ran solder to connect the wires as efficiently as possible between the Teensy and the ribbon header pins. We designed a housing for the Teensy and its wires in Google Sketchup. The housing has a hole on one side near the Teensy’s micro-USB connector, and two slots near the lid to allow the ribbon cables to pass through.
We decided to power the Teensy through its USB port, rather than using a LiPo backpack as in the tutorial. For power, we used portable USB phone chargers. They were inexpensive and could be connected to the teensy with a long USB to mini-USB cable. We figured that at 5000 mAh, these chargers could supply the Teensy (estimating 50 mA at 5V) and the two TFT screens (approx 25 mA apiece) for around 50 hours – far longer than we’d need for Halloween.
Connecting to Costumes:

Justin decided to use his eyes inside a skeleton mask. We purchased a foam head from Amazon, and he taped the eyes and the electronics box to the head, then covered it with a latex skeleton mask. We attached the skeleton head to a vest with duct tape and some sewing, so he could don the vest to become a two-headed monster for Halloween. The USB cable ran down the back of the skull to the battery in his pocket.
I decided to turn my project into “eyes in the back of my head”, so I 3D printed a holder to keep the eyes aligned with
each other, and allow them to be attached to the strap of a baseball hat. I covered the bright ribbon cable with black electrical tape to camouflage it against my hair. This is where having long, unruly hair becomes an advantage. I was able to cover most of the electronics and plastic with stray bits of hair, and at night, it should truly look like I have eyes in the back of my head.
This has been an incredibly fun and rewarding experience for my son and I. Kudos to Phillip Burgess for creating such a great project. We look forward to being some of the spookiest Trick-or-Treaters out there on Halloween!

