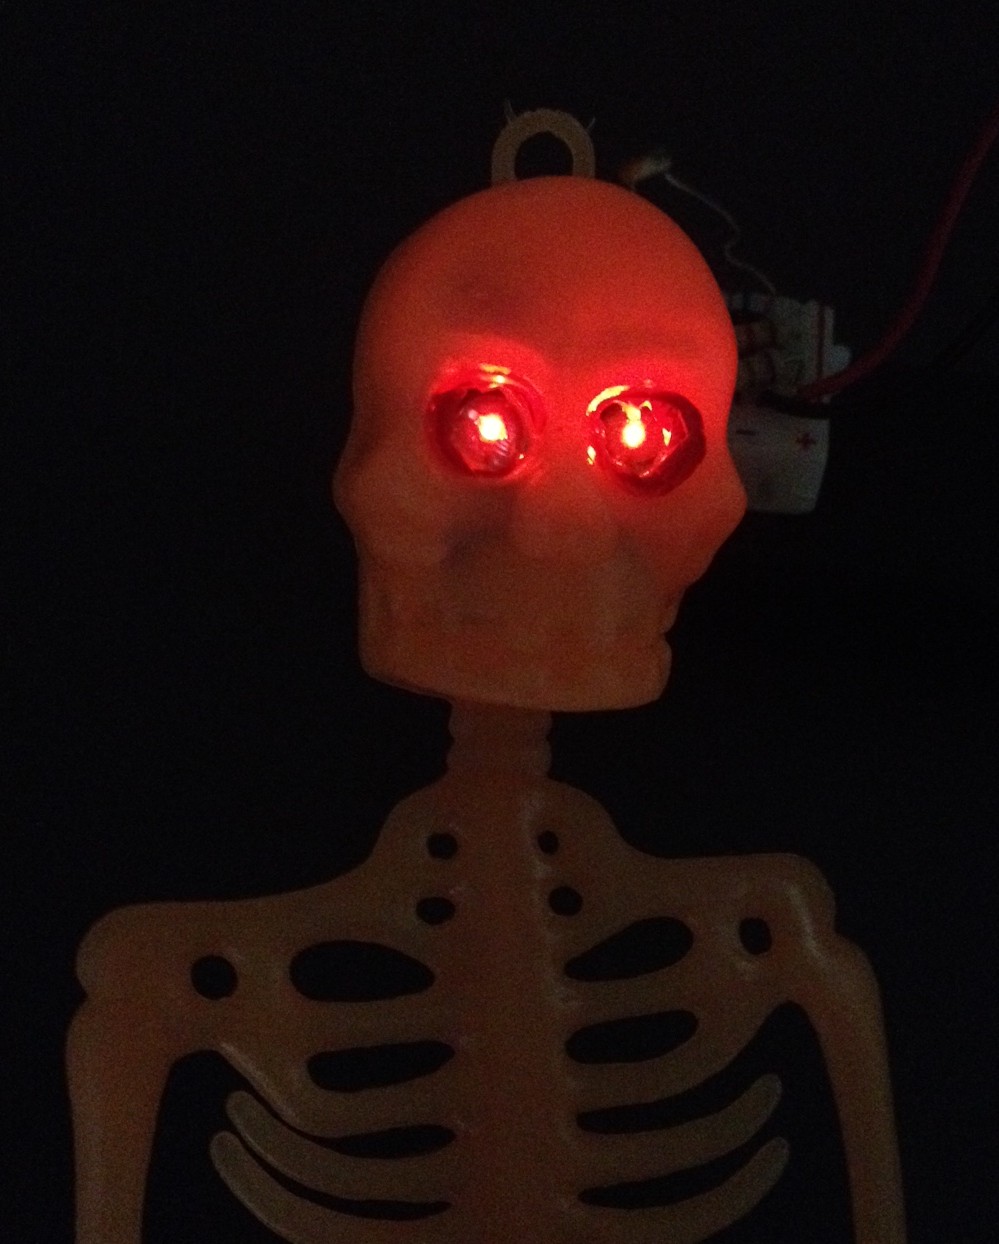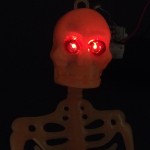
Here is a simple project we made for Halloween. We used a photoresistor and a couple of LEDs to make a spooky skeleton with eyes that light up when it gets dark out.
The Parts:
- Small rubber skeleton (Party City)
- Tiny breadboard (I cut a larger breadboard into pieces)
- Resistors (68 Ω and 82 KΩ or similar)
- 2N2222 Transistor
- Photoresistor (eBay)
- Two red LEDs
- One double “AA” (or “AAA”) battery box – as long as the output is 3V
- Small piece of insulated wire
The Steps:
- Using sharp scissors (I used embroidery scissors), cut holes where the skeleton’s LED eyes will go.
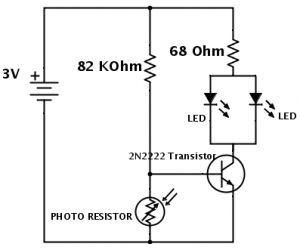
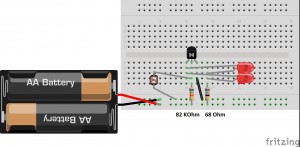
- Assemble the photoresistor circuit on the tiny breadboard. The photosensitive switch design came from the “Learning about Electronics” website: http://www.learningaboutelectronics.com/Articles/Dark-activated-switch.php. I changed the resistor values slightly and used a different model NPN transistor to make the LEDs light up a little more brightly. I used R1 = 68 Ohm and R2 = 82 KOhm, and an 2N2222 transistor. I also used two LEDs in parallel rather than just one LED. See circuit diagram below.
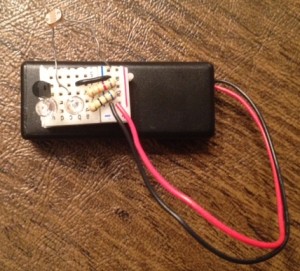
- Stick the tiny breadboard to the top of the battery box and connect the positive and negative battery leads to the circuit. If you want to be able to change the batteries easily, make sure the breadboard is stuck to the side of the battery box that doesn’t open.
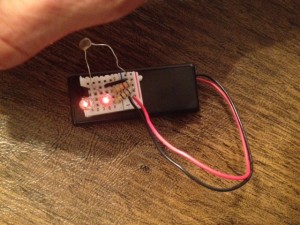
- Test the circuit by placing your hand over the photoresistor. If you built it correctly, the LEDs should light up when the photoresistor is covered.
- Now place the skeleton over the circuit so that the two LEDs show up in the eye holes. You may have to bend the photoresistor away from the circuit a bit to make sure it’s not covered by the skeleton. If it is difficult to fit the LEDs into the eyeholes, you may want to lengthen the LED legs by soldering wires to them. Tape the skeleton in place or secure it in some other way before displaying.
- Voila! A skeleton whose eyes light up at night!
