 The Rasbperry Pi is a fully functional cleverly designed microcomputer that you can buy for only $35 (a more stripped-down version will soon be available for $25). The developer’s intent was to design an inexpensive computer to be used by kids in developing countries to learn programming. There has been a great demand by hobbyists, however, who have used it in a variety of projects. I won’t list them all here, but I recommend Googling “Raspberry Pi project ideas” for inspiration. There is a large online community devoted to all things Raspberry Pi related.
As soon as we heard about the Raspberry Pi, my middle son and I were excited to check it out, so we went online and ordered two of them. There are only two online retailers who sell the Raspberry Pi for $35 in the U.S. – Allied Electronics and Element14. If you purchase anywhere else, including Amazon, you’re probably paying a marked-up price from a reseller.
While waiting for our Pis to arrive, I downloaded the Raspberry Pi User Guide from the Amazon Kindle Store (it is also available in paperback) to read up on it. I highly recommend this guide as it gives detailed instructions on setting up your Pi for initial use, and provides links to many online resources.
The Raspberry Pi is pretty bare bones, so you need to order some additional parts to actually use it. Part of its ingenious design is that it was engineered to use components that many people already have lying around. Not all components turn out to be compatible with the Pi, so before purchasing, it’s a good idea to check out this list of known compatible peripherals for the Pi. Here are the additional parts we purchased or had lying around:
- A power cord. The Pi has a micro-USB power connection, which many phone chargers have. However, it requires a 5V and 700 mA connection, which not all chargers supply. I ordered an appropriate charger online from Element14 just to be on the safe side.
- A powered USB hub. The Pi model B comes with two USB ports, which are enough for a keyboard and mouse, however if you’d like to connect any additional peripherals like a wi-fi dongle or webcam, you’ll need a USB hub. You can’t count on the Raspberry Pi to provide enough power for the peripherals, so it’s best to get a powered hub. I ordered an inexpensive 4-port powered hub from Amazon.
- Keyboard. It turns out that we had plenty of old keyboards lying around, but none of them had USB connectors. We ordered some very inexpensive USB keyboards from Amazon.
- SD card. Instead of a hard drive, the Pi uses a SD card for data storage, including the operating system. We got two 4 GB SD cards.
- Monitor and connector cable. The Pi comes with an HDMI output port for video. Most modern televisions take an HDMI connection, so you can probably connect your Pi to your TV with an HDMI cable. We had some old monitors that we planned to use, but they used DVI connectors. HDMI cables can be very expensive, but we found some inexpensive HDMI to DVI cables on Amazon (can you tell that I love Amazon?).
- USB Mouse. We had several of these lying around that worked just fine.
- USB WiFi dongle. This is not necessary, as the Pi comes with a network port and takes a standard Ethernet cable. However, one of the great benefits of the Pi is the portability that comes with its small size, so we decided to go wireless with our network connections. After checking for compatibility we purchased these from (where else?) Amazon.
- I also bought us clear cases to house the Raspberry Pis. A case is not necessary, but I liked the look, and my son had managed to accidentally puncture his finger on the GPIO (General Purpose I/O) pins, so I figured the cases would protect us, if not the Pis.
Once we got all the parts we needed, it was time to flash the operating system onto the the SD cards. The recommended operating system is a version of Linux called Raspbian “Wheezy”. We followed the directions in the User Guide, and once we figured out how to use BitTorrent to download the OS, flashing the SD cards from our desktop computer was easy.


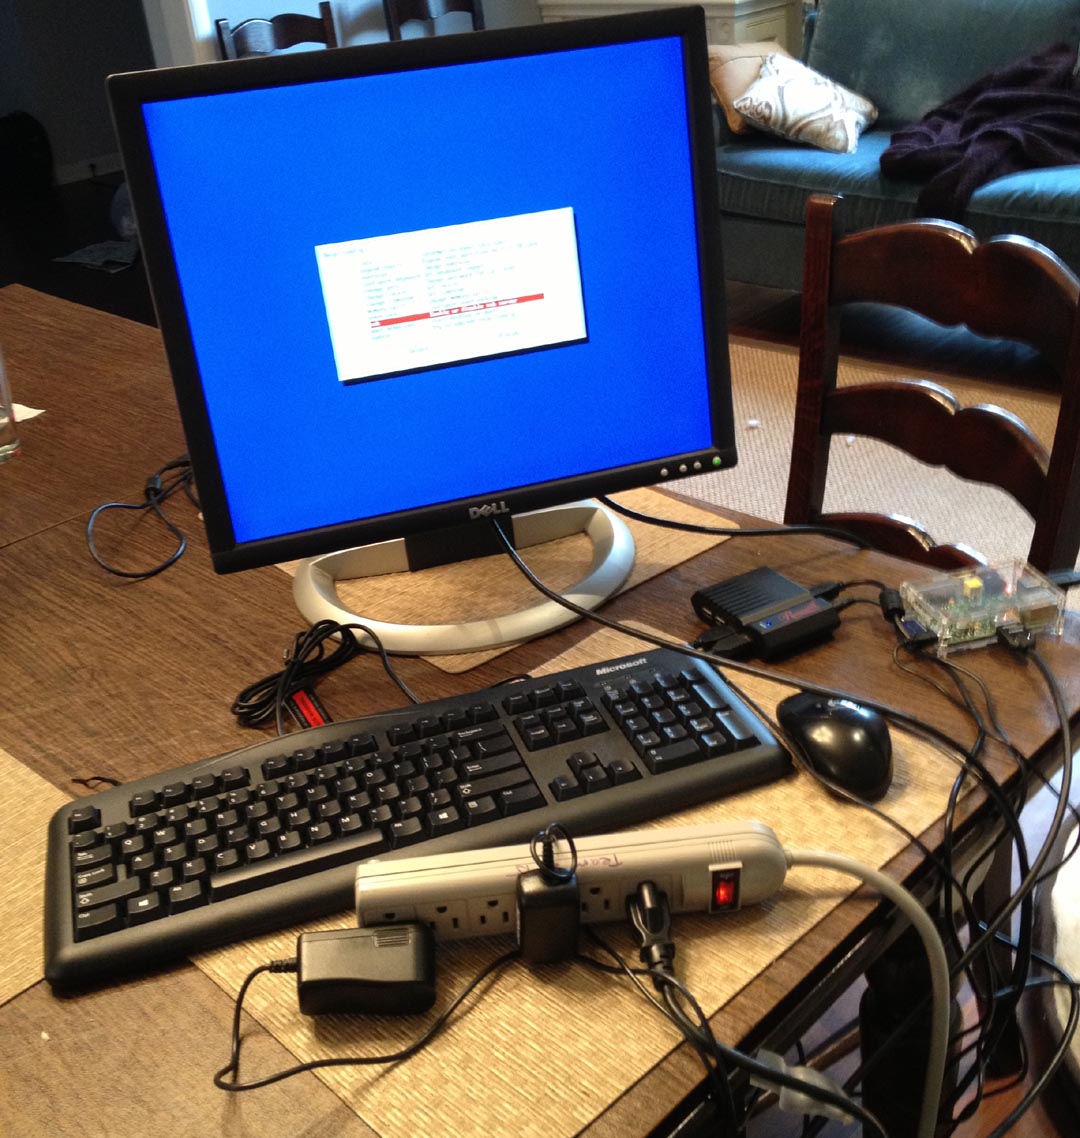
With all the parts acquired, we plugged everything in, and turned it on. Everything booted up beautifully the first time. The first screen, seen at right runs the configuration settings for the Raspberry Pi, and it presented some setup options. It turns out that the default keyboard setup and location are set to England, where the Pi was developed. You will save yourself some trouble down the road if you change your Locale and Keyboard settings right away. I didn’t, and it took me a while to figure out why some of the symbol keys were not displaying the symbols I expected.
I haven’t used Linux in over 15 years, and my son had never used it, so our next step is to (re) familiarize ourselves with the operating system. The Raspbian operating system has a fairly easy to use graphical user interface (launched by typing “startx” at the first available prompt when the Pi boots up), so you can use the mouse to get around without much knowledge of Linux. My son has already changed his desktop background to a cool picture he found online. He had no trouble using the built-in web browser, called Midori, and enjoyed exploring the Scratch (an kid-friendly graphical programming language) installation that comes with Raspbian. I hope he’ll take the opportunity to learn some Python, another programming language that comes with the operating system. The basic system has a lot to keep us busy for a while.
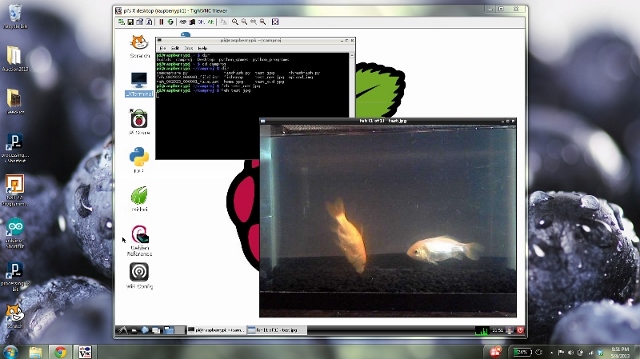
For future projects I’ve purchased a couple of cheap webcams. My son plans to use make a robot that streams what it sees via a Raspberry Pi-powered web server, and I’m thinking of making some sort of interactive streaming webcam, perhaps involving our goldfish.
I will blog further about our Raspberry Pi projects as they develop. In the meantime, we’re having a great deal of fun exploring our new systems.


One thought on “Adventures with Raspberry Pi – Setting Up”